You are here: Home > Installation Instructions for Fontana Black Wall Mount Commercial Automatic Sensor Faucet With Insight Infrared Technology

How to install Fontana Black Wall Mount Commercial Automatic Sensor Faucet With Insight Infrared Technology | FS1092B


Easy step by steps installation instructions for Sensor Faucet

Visit Product Page
  • Before you begin, please read the installation instructions below. Observe all local building and safety codes.
  • Unpack and inspect the products for any shipping damages. If you find damages, do not install.
  • Please note all products must be installed by a professional and certified plumber otherwise warranty might be voided.
sensor


Sensor Faucet Installations Instructions

Step 1:sensorStep 2:


Parts:

Step 3:Step 4:


Step 5:Step 6: (Drywall Anchor Method)


Step 7:Step 8: (Threaded Shaft Method)


Step 9:Step 10: (Elbow Method)


Step 11:Step 12: (Plywood Method)


Step 13:Step 14:


Water ConnectionHot & Cold Water Connection

control
box


1. Carefully screw aerator into spout using the included tool.

2. Mark center-point of faucet spout and drill a 3/4” hole on the previously marked center-point.
Note: It is recommended to horizontally align faucet spout with the center of the sink drain and vertically 7-10” above the sink drain. To comply with ADA standards, faucet spout must be mounted less than 50" from the finished floor.

3. There are four methods of securing the spout to the wall:

a. Drywall Anchor Method: Mark the slots of the spout’s flange and drill 3 equally-spaced 3/16” (4mm) holes. Insert the drywall anchors into the holes. Feed the hose and sensor cable through the hole in the wall, starting with the sensor cable first. Then, attach the spout to the wall using the supplied screws.

b. Threaded Shaft Method: Thread on the threaded rod onto the faucet spout. Feed the hose and sensor cable through the hole in the wall, starting with the sensor cable first. Then, attach the flanged nut onto the threaded shaft of the spout by hand, behind the wall. Ensure the spout is correctly oriented into the basin and continue tightening the nut with a wrench. Note: Avoid over-tightening to prevent damage to the wall.

c. Elbow Method: Mark the slots of the spout’s flange and drill 3 equally-spaced holes with a minimum drill bit size of 3/16" (4mm). Slip the sensor cabling and flexible hose through the elbow such that the brass on the elbow contacts the backside of the wall. Thread the M4 screws through the spout flange and into the threaded holes of the elbow. Tip: By hand, insert each screw into the threaded holes, and barely tighten. Then use a screwdriver to tighten each screw in a clockwise pattern little by little until tightened.

d. Plywood Method: If the restroom has a plywood backing of minimum 1/2” thickness behind the wall, use a hand drill to fasten the spout to the wall using the provided 3 coarse-threaded screws. Pre-drilling pilot holes are not required.

4. Slide escutcheon over the spout and onto the wall surface.


Flexible Connecting Hose
Care must be taken when connecting the flexible connection hose from the power supply box to the spout to ensure it does not bend sharply and kink or twist.
See above for recommended ways to fit the flexible connecting hose.

Important: Failure to follow these guidelines may result in poor performance and damage to the flexible connection hose.


Flush Debris from waterpipesHot & Cold Regulator


Control BoxCorrect way for Hose


Control Box Installation Instructions


Step 1: Step 2:

control box
Step 3: Step 4:


5" size


Step 5: Step 6:


Control Box Installation
1. Remove the four screws from the control box. Remove the control box cover. Remove the battery box from the control box, and gently remove the screw from the battery box cover. Install AA batteries in the orientation shown. Note: Use only alkaline AA batteries. Re-install the battery box cover, matching the alignment arrows together. Set the battery box back into the control box, and re-install the control box cover using the previously removed screws.

2. Choose a location under the sink basin to mount the control box, such that the sensor cable, flexible hose, and incoming water supply all connect to the control box. Under the sink basin, drill a hole minimum 3/4” to fit the sensor cable and flexible hose from the spout. Feed the sensor cable and flexible hose through the hole.

3. Mount the control box to the wall in the orientation shown. Drill four 1/8" (3mm) holes, and push drywall anchors into each hole. Secure the control box to the wall with the drywall screws.

4. Connect the incoming water supply line to the control box, at the connection marked Inlet.

5. Thread on the swivel nut to the hose by hand. Tighten with a wrench.

6. Connect the faucet hose to the control box, at the connection marked Outlet.

7. Slide sensor cable connector over the sensor cable connector on the control box and tighten by hand.
Note: Prior to connecting the sensor cable to the control box, open the water supply stop valve and ensure the sink basin is completely clean and clear of objects, or the sensor will not correctly calibrate. Please wait approximately 60 seconds after connecting the sensor cable for sensor calibration to complete and to begin using the faucet.


Inserting Batteries
Your infrared spout is supplied with a back up battery pack (batteries not included). In the event of a power failure the batteries will override the mains power supply to ensure the spout continues to function.


Before fitting the power supply box into position on the wall/floor, batteries (not included) will need to be fitted.

1. Remove Power Supply Box Cover - Remove all four screws in each corner of the power supply box and remove the cover.
2. Remove Battery Box - Remove the battery case from the power supply box and remove the screw in the center of the case.
3. Insert Batteries - Insert 4 x AA batteries (not included) into the battery box ensuring they are inserted the correct way.
4. Replace Battery Box - Replace the battery case cover. Replace and tighten the screw. Insert the battery case back into the power supply box.
5. Replace Power Supply Cover - Replace the power supply cover and tighten all 4 screws ensuring they are all fully tightened.


Electrical Connections


1. Position Power Supply Box - Position the power supply box onto the wall surface below the sink/work surface where it is easily accessible.
Note: Ensure that the power supply box is fitted the correct way up and that the flexible hose will reach from the underside of the spout to the power supply box.
Using suitable fixings for the wall type secure the power supply box to the wall.

2. Plug-In Power Cable - Plug the power cable into the power supply box.

3. Connect The Sensor Cable - Plug the sensor cable from the spout into the power supply box to activate the infrared senor.


Water Connections

Connecting Water Supply - A blended water supply is required to the inlet of the power supply box. Before connecting the water supply to the power supply box flush through the pipework to ensure removal of debris. Once flushed through turn off the mains water supply and close any isolating valves.

Inlet Connection - The inlet connection on the power supply box is a 1/2” BSP male threaded connection. Connect a 1/2” BSP female connector to the inlet connection ensuring a suitable sealing washer is used to create a watertight connection.

Outlet Connection - The outlet connection is a standard 1/2” BSP male threaded connection. Connect the flexi hose to the outlet connection, ensuring it is tightened fully.


Sensor Range

This machine can automatically adjust the inductive range within 10 seconds of electrification. Don't use inductor during this period in order for the inductor to automatically adjust to a suitable inductive range.

Set Water Flow Time-Out

The machine will shut off the water when washing time exceeds 1.5 minutes foreign matter induces continuously in inductive areal. If follow-up washing is needed, re-induce after removing hands for 2 seconds.

Notes
1. Please use the AA type alkaline battery (1.5v for each).
2. Fix the battery correctly. Should not be mix use the batteries with different brands, the new and old and if use non-alkaline battery, the battery life is short in 1-2 months.
3. After installation of the battery, the solenoid valve will do its self-testing.
4. After providing the power, in 10sec, the machine will self adjust the sensor distance, so during this period, do not make it work.
5. If the sensor distance is short, please move away the barrier for 5-6 mins, the machine will adjust to normal.
6. If the sensor distance from far to near, and water flows continuously, the machine will self-adjust the distance after 5 mins.


.


Fontana Black Wall Mount Commercial Automatic Sensor Faucet With Insight Infrared Technology


Minimize waste of water, by using this automatic wall mount black faucet . The Sensor Faucet, an electronically controlled faucets that eliminate the need to touch or turn handles. Insight technology calibrates the sensor to filter false triggers and optimize the faucet's operation. Through the use of sensor beams the automatic faucet determines when an object is in front of it and automatically turns on the faucet. Since there is nothing to touch and nothing to reach for, an automatic faucet eliminates all of that cleaning and disinfecting that you do to try to maintain a hygienic surface. Black bathroom sensor faucets are anti-erosion, anti-abrasion and high strength. This is trim set only. It requires valve kit to complete the faucet. Safe Drinking Water Act (SDWA- Low Lead) compliant. On demand on and off. Valve kit is factory set to 30 second max. Continual run cycle if it is turned on continuously.


Features:

Visit Product Page

  • Brand Name: Fontana
  • Model Number: FS1092B

Chrome Automatic Soap Dispenser


Convenience and hygiene are some of the main features that commercial and high-traffic restrooms should have in modern designs. Automatic soap dispensers have become an integral part of the process, allowing touchless, hygienic service and reducing the transmission of germs, thereby minimizing soap waste. These advanced dispensers come in various styles, finishes, and technologies to fit upscale bathrooms, public restrooms, and commercial environments. From stainless steel models that resist wear and tear to aesthetic touches of chrome or brass finish, automatic soap dispensers offer functionality and aesthetic appeal to keep up with demanding restrooms without a glitch. A review of the various automatic soap dispensers and their particular benefits for commercial use is presented below. You can review the different Automatic Soap Faucet concerning commercial, high-traffic, or upscale restroom and bathroom design:
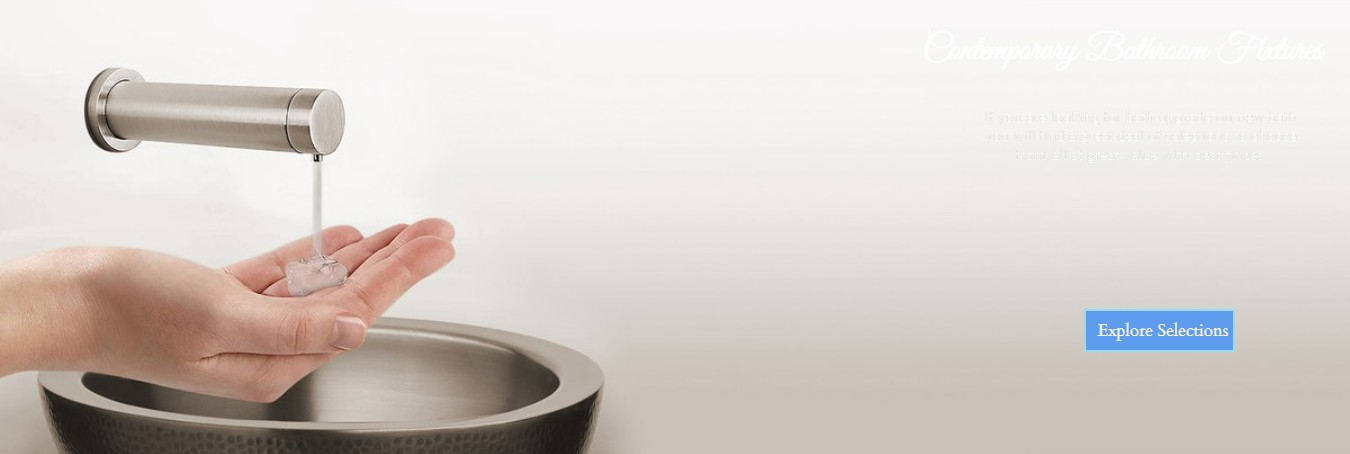
Automatic Soap Dispensers

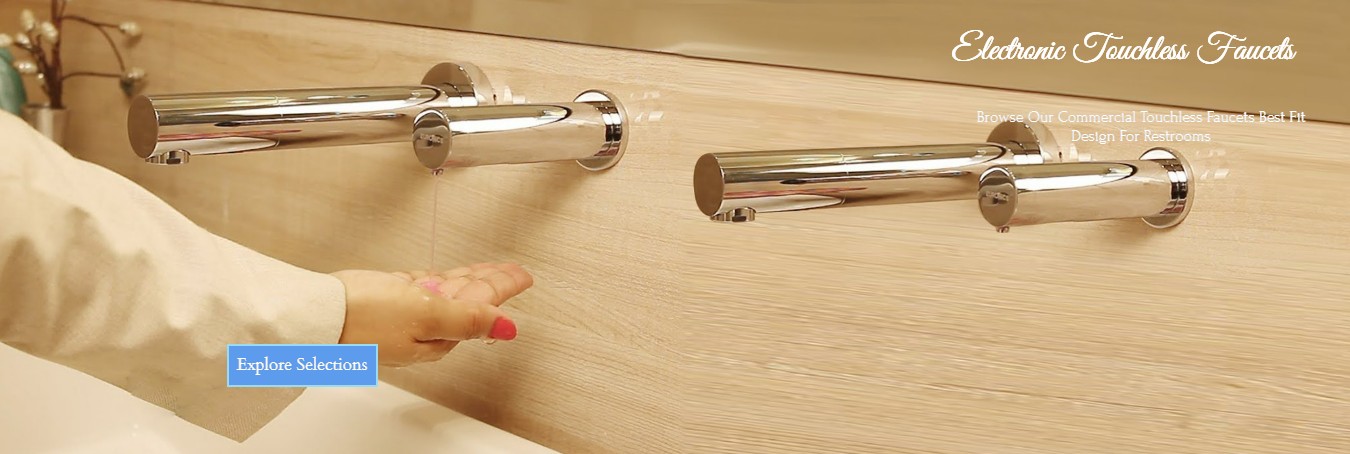
Automatic Soap Faucet: This is a combination of a soap dispenser and a faucet that reduces touch points, hence promoting hygiene in high-traffic restrooms. It is ideal for commercial purposes.


The stainless steel Automatic Foaming Soap Dispenser is engineered to be long-serving and corrosion-resistant, keeping upscale commercial bathrooms that promote efficient soap usage.
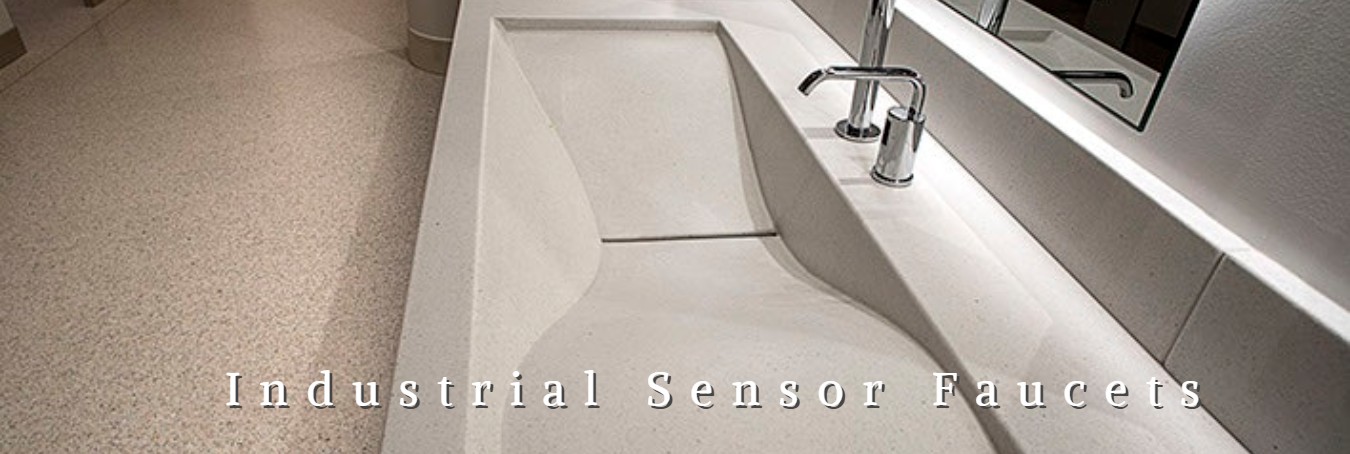
The heavy-duty construction soap dispenser uses long-lasting materials and withstands the rigor of frequent use in commercial settings; it is reliable, long-lasting, and easily adaptable to high-traffic restrooms.

Automatic Lavatory Mounted Soap Dispense: directly mounts onto the lavatory, melting function into a smooth design to limit clutter and heighten hygiene for hotel or office building commercial restrooms.

Automatic Liquid Hand Soap Dispenser: Precise liquid soap dispensing in high-traffic restrooms maintains hygiene at a minimum quantity of wasted soap due to controlled dispensing.


public restroom sinks faucet

Automatic Soap and Paper Towel Dispenser: Combining two functions in one unit is particularly applicable to high-traffic commercial restrooms, serving the purpose of providing a touchless experience that offers improved hygiene.

The Commercial price of Automatic Liquid Soap Dispenser Offering affordable solutions that balance performance and budget, catering to businesses that want to put efficient soap dispensers into the restrooms.

Although you can find the Automatic Soap Dispenser on Amazon, it is widely available on various online retailing sites, such as Amazon, in many different models according to commercial applications. Thus, the prices vary with several features.
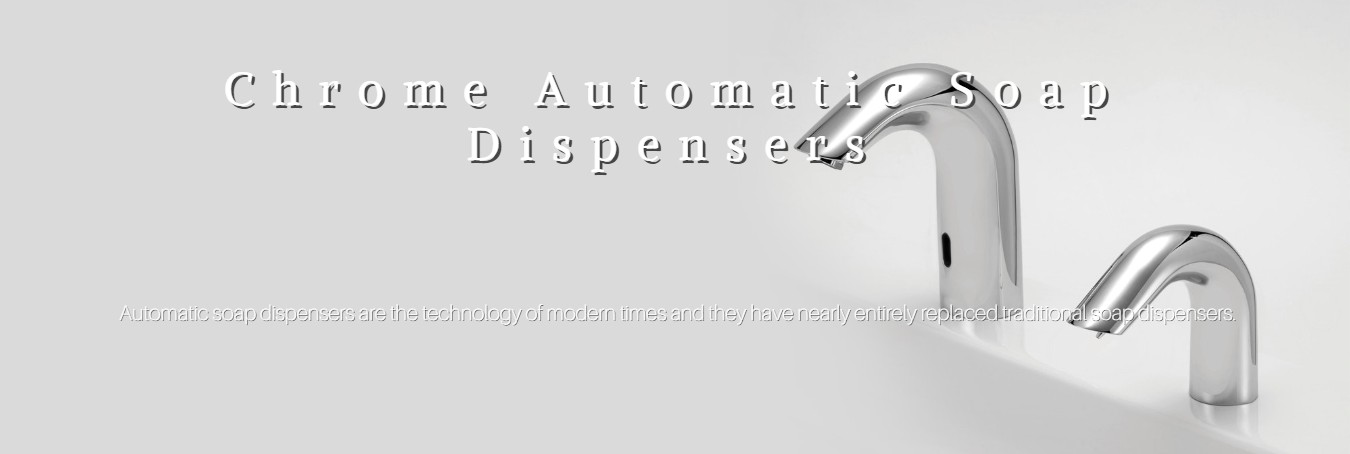
Automatic Soap Dispensers in Chrome finish can be Sleek and shiny, bright chrome finish —best suited for bathrooms that are a notch above the regular ones, presenting the user with a stylish and touchless solution both in beauty and function.

The stainless Steel Dispenser is resistant to corrosion and wear; besides offering high hygiene standards, it makes the deployment of automatic soap dispensers made from this material highly apt for high-traffic commercial washrooms and provides a clean, modern look.
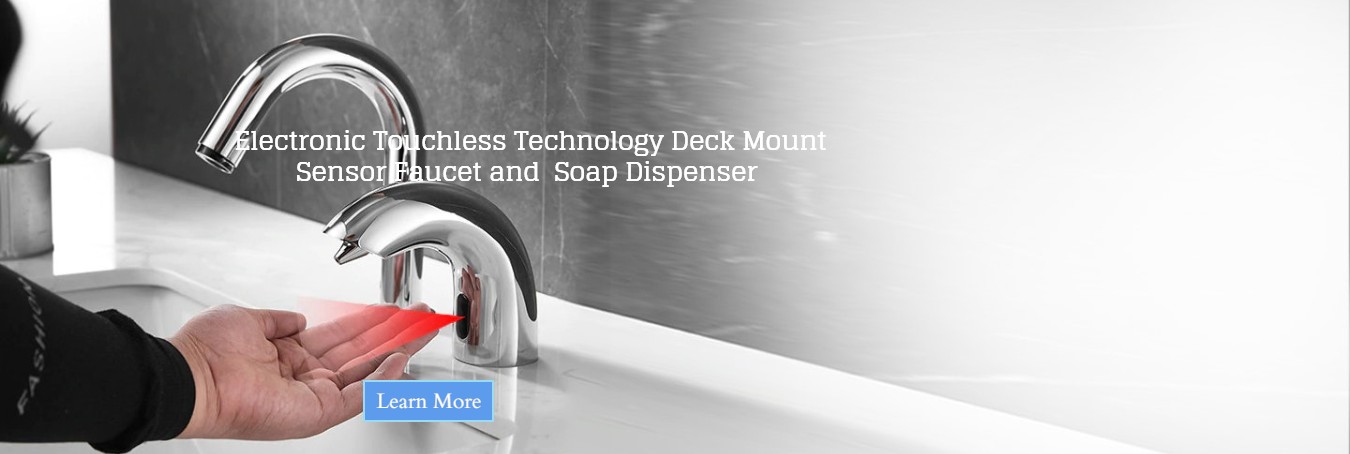


Commercial Countertop Dispenser Find convenience in an automatic soap dispenser fit for commercial restroom countertop installation where access to soap is easily available while maintaining cleanliness and organization in the process.

Automatic Soap Dispenser Made in USA: High-quality manufacturing standards ensure the product is suitable for commercial applications where durability and compliance with local regulations are critical.

Automatic Soap Dispenser Manufacturers Are companies that provide high-performance, touchless dispensers designed for commercial applications and can develop tailored solutions for large-scale restroom designs.

Automatic Soap Dispensers are ideal for high-traffic and commercial settings. They use touchless technology to reduce soap wastage and the spread of germs.

Touchless Automatic Soap Dispenser: This automatic Soap Dispenser is Ideal for all high-class commercial restrooms. It provides maximum hygiene and convenience to users in places frequently utilized by the public.

Automatic vs. Manual Soap Dispenser: Automatic vs Manual Soap Dispenser Offers better hygiene and efficiency in high-traffic restrooms than its manual alternative because of less contact and potential soap wastage.

Best Automatic Hand Soap Dispenser: These Maximum-Rated units are designed for heavy-duty commercial use and ensure dependability, ease of operation, and effective soap distribution.

Best Automatic Foaming Hand Soap Dispenser: This is an ideal unit optimized for commercial bathrooms. It dispenses the right amount of foaming soap for less consumption yet still maintains high levels of hygiene.

Best Commercial Automatic Soap Dispenser: Specifically engineered for commercial use, these soap dispensers assure unrivaled performance in strength, design, and soap conservation.


Brushed Stainless Steel Automatic Soap Dispenser : The brushed finish gives it the sophistication needed in high-end commercial restrooms while maintaining the same durability to resist smudges and corrosion.

Brass Automatic Soap Dispenser: Brass Automatic Soap Dispenser High-class luxury option in automatic soap dispensers for use in high-class commercial restrooms; a proper premium finish to go well with high-class bathroom designs.

Built-In Automatic Soap Dispenser Sink: Built-On Automatic Soap Dispenser Sink This integrates the soap dispenser into the sink unit itself and streamlines bathroom design in commercial spaces, promoting touchless functionality.


Touchless Bathroom Faucets

Touchless Bathroom Faucets for High Traffic Restrooms

Touchless bathroom faucets are gaining traction for enhanced safety and control. Fontana touchless bathroom faucets offer benefits such as hygiene, reliability, vandal resistance, water efficiency, lower operating costs, and convenience, making them ideal for public restrooms in shopping malls, restaurants, and office buildings. Electronic sensors are widely used in touchless technology, with automatic or touchless soap dispensers and Fontana Touchless Faucets being a popular brand for their quality design of touchless operations in high traffic bathrooms. Non-touch foaming soap dispensers or named touchless soap dispensers are also designed to handle high levels of use in common restroom areas and commercial washrooms.


Soap Dispenser: Soap Dispenser This is a standard necessity in every restroom-commercial or otherwise-serving the needs of hand washing by dispensing liquid or foam soaps.

Automatic Foam Soap Dispenser: Automatic Foam Soap Dispenser Reduces soap usage and gives highly satisfied user experiences from the pre-lathered foam soap dispensed in highly used restrooms with quick but efficient cleaning.

Automatic Soap Dispenser Commercial: Automatic Soap Dispenser Commercial This is designed to meet the high demands of busy public restrooms in delivering soaps constantly and hygienically, requiring little maintenance.

Automatic Foam Soap Dispenser: Automatic Foam Soap Dispenser Ideally for commercial settings, the dispenser gives out foam soap, which reduces usage, and hence helps save money in highly trafficked restrooms.

Touchless Foaming Soap Dispenser: Touchless Foaming Soap Dispenser <